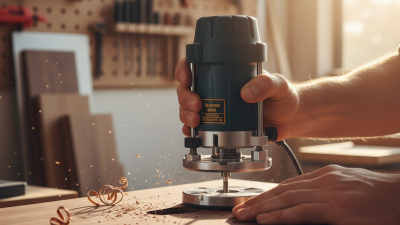
Raised Panel Router Bits can turn a plain board into a door panel with a crisp, light-catching edge. The result depends on more than the cutter’s profile. Shank size, bearing design, carbide quality, bit diameter, and router capacity all affect control and finish. A large cutter also demands careful setup. It should not be pushed through a deep cut in one pass.
Woodworking educator Marc Spagnuolo is known for practical, process-focused shop instruction. The line below is an editorial paraphrase, not a verified verbatim quotation: “Make a test cut before trusting the profile.” That small step can reveal tear-out, an incorrect fence setting, or a panel that sits too loosely in its frame. It can also save good stock. A scrap board is cheaper than a replacement door.
This guide compares ten Raised Panel Router Bits for common woodworking needs, from occasional cabinet work to repeat shop production. It considers cut quality, ease of setup, compatibility, and value, while recognizing that no single bit suits every router or project. A ranking can help narrow the field, but it cannot replace checking the manufacturer’s speed and setup guidance. Even a highly rated bit may leave a rough edge in the wrong wood. That is worth remembering. Test the cut, inspect the grain, and choose the profile that fits the door—not just the product photo.
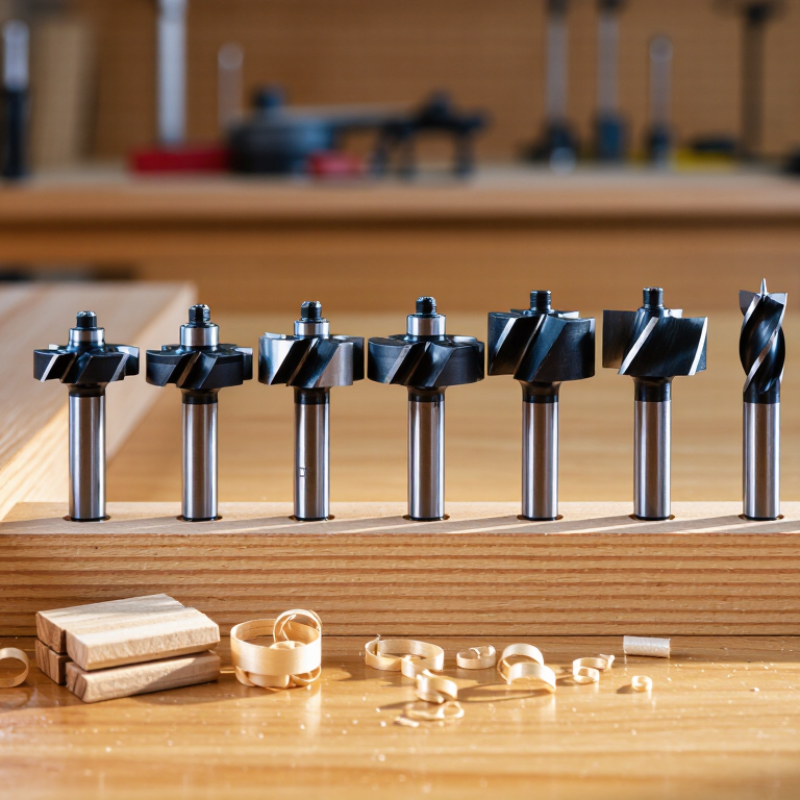
Raised-panel bits should be compared by profile, cutter diameter, bearing, and shank—not by appearance alone. Ogee, cove, and bead profiles create different shadow lines, so inspect a full-size sample under the room’s actual lighting. Cutter diameter affects the panel’s edge detail and the router’s operating demands. Check the tool’s rated speed before cutting; larger cutters generally require lower speeds. A bearing follows the rail or stile, but its diameter must match the intended offset. Small mismatch, visible gap.
For cabinet work, a 1/2-inch shank is a practical choice when the router accepts it. Its added stiffness can help limit flex during heavy cuts, though it cannot compensate for a loose collet or poor setup. Confirm the shank fits the router, and use the manufacturer’s specified speed and feed rate. Make a test cut in matching stock. It saves guesswork.
Dust control belongs in the selection process, too. OSHA’s 29 CFR 1910.1000 Table Z-1 lists limits of 15 mg/m³ for total particulates and 5 mg/m³ for respirable particulates not otherwise regulated; these are general limits, not a wood-specific exposure assessment. Use extraction and suitable respiratory protection where needed. A useful, imperfect rule: choose the profile by the finished look, then verify bearing, cutter size, and shank against the router and workpiece.
Raised-panel edges change a cabinet door’s character more than their names suggest. An ogee adds a curved, traditional shadow; a Roman ogee feels more formal, while a double ogee creates two distinct steps. A cove gives a soft inward sweep, and a bead adds a narrow rounded ridge. Subtle, but visible.
For common styles, a bevel suits clean, restrained doors, while a thumbnail profile softens the panel perimeter without looking ornate. A roundover feels simple and approachable. A classical profile combines curves and small steps for a more decorative door, while an ogee-and-bead treatment adds extra detail. These ten profiles can all suit raised panels, but scale matters: a deep profile may overwhelm a narrow rail or a small cabinet door.
Compare sample cuts against the door frame before committing. Use the same wood and finish, since stain can make a crisp step look heavier. Check that the panel cutter and rail-and-stile set leave a compatible edge; a profile mismatch can show at the joint. Feel the edge. A profile that looks elegant on a sample may feel fussy on a full-size door, and that judgment is easy to get wrong.
Raised-panel router bits should be judged by their carbide edges, not just their profile shape. Look for even, sharp cutting edges with no visible chips or dull spots. Under a bright work light, rotate the bit and inspect both cutters closely. Small chips matter. A rough edge can leave ridges that need extra sanding, especially across figured wood. A test cut in matching scrap reveals more than appearance alone.
Shank choice must suit the router’s collet; a larger shank can provide a more secure fit when the tool accepts it. Large cutters also need the correct router speed, so follow the bit maker’s guidance rather than guessing.
Panel stock deserves equal care. Aim for 6–8% moisture content for many indoor projects, while considering the local environment and final use. Check several points with a moisture meter, then let the boards acclimate if readings vary. I would not assume one reading tells the whole story. Even well-dried panels can move after shaping, and that small uncertainty should influence the fit and finish you choose.
Raised panel router bits remove a wide area of wood, so their cutting edges travel quickly even when the router seems to run at a moderate speed. Check the maximum RPM printed on the cutter or listed in its instructions before mounting it. Never assume that a bit fits every speed setting. A large-diameter cutter usually needs a lower RPM than a small profile bit because its outer edge covers more distance with each rotation. That detail is easy to overlook.
Tips: Set the router below the cutter’s stated limit, then confirm the setting in the router manual. Inspect the bit for cracks, resin buildup, or loose components. Secure the panel firmly, and wear eye and hearing protection. Make a test cut in scrap wood. Watch for vibration, burning, or a rough cut; stop and investigate rather than pushing through. Small warning signs matter.
Feed the workpiece steadily, without forcing it into the cutter. If the router bogs down, the edge burns, or the cut sounds uneven, pause and check the setup, sharpness, and speed. A lower RPM is not automatically better if it causes poor cutting, so follow the cutter’s guidance. It takes a little patience. Even experienced woodworkers can misread a speed chart, especially when switching between similar-looking bits.
Top 10 Raised Panel Router Bits for Woodworking
This ranking weighs edge quality, setup time, safety demands, and cost per panel. It favors bits suited to repeatable cabinet work, not every decorative profile. A horizontal carbide-tipped panel raiser with a back cutter takes the top spot for clean edges and fewer sanding passes. It needs a sturdy router table, careful speed selection, and several shallow cuts. Second is a standard horizontal panel raiser, which offers strong value but may leave more cleanup. Third, a vertical panel-raising bit is easier to store and often simpler to set up, though its profile options can be limited. Fourth, an adjustable panel raiser suits varied stock, but adjustment adds setup checks. It is not foolproof.
Fifth is an ogee profile, chosen for its crisp traditional detail. Sixth is a bevel profile, practical and comparatively quick to tune. Seventh is a cove profile, which can soften a panel edge but may collect dust in the cut. Eighth is a bead profile, useful for a narrow decorative line. Ninth is a Roman ogee, attractive but less forgiving of alignment errors. Tenth is a compact panel-raising bit, best for smaller work rather than broad doors. For any large cutter, use a guarded table setup, secure the panel, and follow the cutter’s rated speed. Test on scrap first. That step feels wasteful until a good panel burns. Cost per panel also depends on setup time, sharpening, and rejected pieces, so the cheapest bit may not stay cheap.
| Rank | Bit Configuration | Typical Cut Quality | Setup Needs | Relative Safety | Value per Panel | Best Suited For |
|---|---|---|---|---|---|---|
| 1 | Horizontal ogee panel raiser with backcutter | Excellent | High: router table, sturdy fence, careful height and fence adjustments; take multiple passes when appropriate. | Moderate: large cutter; use only within the bit’s rated speed and with secure workholding and guarding. | High for repeat work | Traditional cabinet doors where a decorative edge and a shaped back edge are wanted. |
| 2 | Horizontal ogee panel raiser without backcutter | Excellent | High: requires accurate fence and height setup; test the profile on scrap from the project stock. | Moderate | High for repeated panels | Classic raised-panel doors when the back edge will be finished or profiled separately. |
| 3 | Horizontal cove panel raiser | Very good | High: router-table setup and test cuts help establish the reveal and panel thickness. | Moderate | Good for production runs | Panels with a softer, concave transition rather than an ornate ogee profile. |
| 4 | Horizontal bevel panel raiser | Very good | High: precise cutter height and fence alignment are important for an even bevel. | Moderate | Good for repeated panels | Clean, restrained cabinet-door designs with a straight sloped edge. |
| 5 | Vertical ogee panel-raising bit | Good to very good | Moderate: generally suited to smaller stock; still requires a stable router-table setup and test cuts. | Moderate: smaller cutting geometry does not remove the need for guarding and controlled feed. | High for small panels | Small panels or projects where a large horizontal cutter is impractical. |
| 6 | Vertical cove panel-raising bit | Good | Moderate: adjust height gradually and check the profile on scrap before machining finished panels. | Moderate | Good for small batches | Compact work with a simple concave edge profile. |
| 7 | Vertical bevel panel-raising bit | Good | Moderate: careful setup is needed to keep the bevel consistent around the panel. | Moderate | Good for occasional use | Smaller cabinet doors and straightforward bevel-style panel edges. |
| 8 | Horizontal thumbnail panel raiser | Very good | High: large-cutter setup; test the edge and panel fit before processing a batch. | Moderate | Good for repeat work | Panels with a rounded, eased transition and a less ornate appearance. |
| 9 | Horizontal bead-profile panel raiser | Very good | High: the decorative bead makes cutter height and fence position especially noticeable. | Moderate | Moderate to good | Decorative doors where a defined bead is part of the design. |
| 10 | Horizontal roundover panel raiser | Good | High: confirm the desired radius and panel fit with a test piece. | Moderate | Good when the profile matches multiple projects | Simple, softened panel edges and less formal door styles. |
Ratings are a practical comparison of common cutter configurations, not laboratory test results or a guarantee of performance. “Value per panel” depends on cutter cost, material, setup time, and how many panels are made. Follow the cutter manufacturer’s speed limits and instructions; use suitable guarding, eye and hearing protection, secure workholding, and test cuts. Large panel-raising cutters are generally intended for a properly set up router table, not handheld routing.