Keyhole Router Bit Tips for Perfect Woodworking Projects?
When it comes to woodworking projects, achieving precision is vital. One essential tool for this task is the Keyhole Router Bit. Renowned woodworking expert John Smith once stated, "Mastering the Keyhole Router Bit opens new doors to creativity." This quote underlines the bit's importance in crafting intricate designs.
Using a Keyhole Router Bit can transform your projects, allowing for beautiful keyhole cuts that add functionality and style. Many woodworkers, however, struggle with this tool. Common mistakes often include improper speed settings or incorrect depth. Such errors can lead to frustrating results. It's crucial to practice and reflect on these challenges.
Despite its versatility, the Keyhole Router Bit demands attention to detail. Even slight miscalculations can ruin a project. Embracing these imperfections can help woodworkers improve. In the end, understanding and mastering the Keyhole Router Bit can lead to satisfying and stunning woodworking creations.
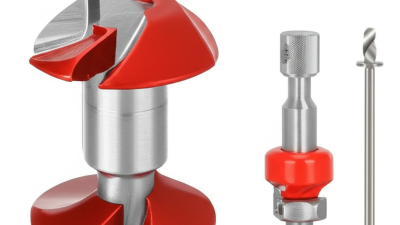
Understanding Keyhole Router Bits and Their Applications
Keyhole router bits are essential tools for many woodworking projects. They create unique, keyhole-shaped slots that allow for easy hanging of various items. This design is particularly useful for wall art and picture frames, providing a clean look. Understanding the right depth and width for your keyhole cut is crucial. Too shallow, and the item might not secure properly. Too deep, and the integrity of your material could weaken.
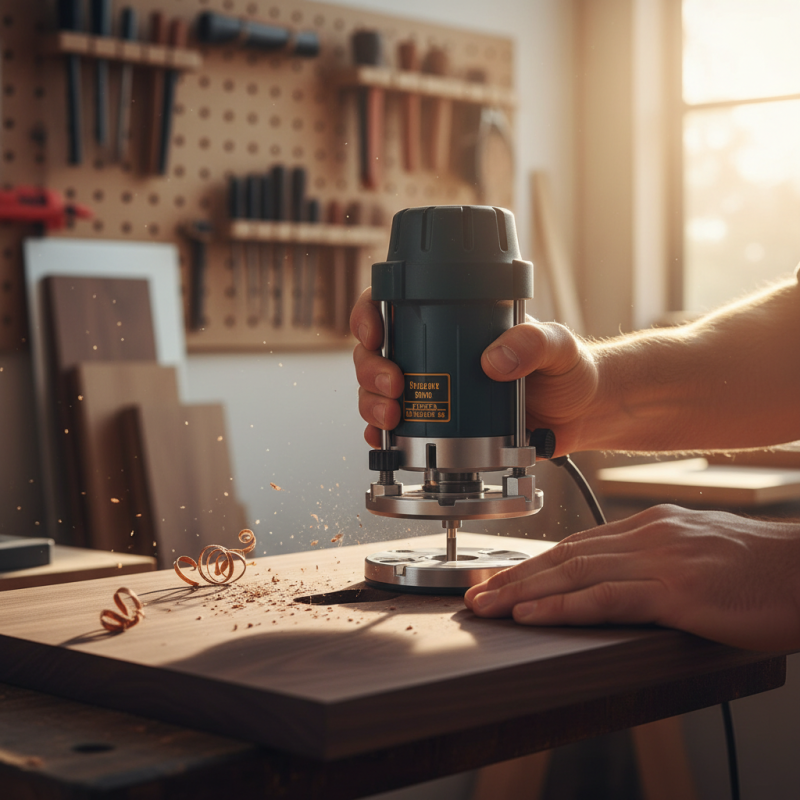
When using a keyhole router bit, precision matters. Ensure your router is set up correctly to avoid uneven cuts. It's often helpful to practice on scrap wood first. This can help you refine your technique. Paying attention to detail can elevate your work. Sometimes, despite precautions, unexpected results occur. A misaligned cut can happen. Reflecting on these moments will improve your skills over time. Mistakes can lead to innovative solutions in design.
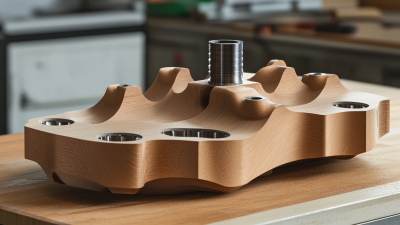
Moreover, the applications of keyhole bits extend beyond simple hanging. They can be used to create decorative effects on furniture surfaces. This versatility adds character to your projects. Experimenting with different materials can yield surprising results. However, it's important to remember that not every attempt will be perfect. Each crafted piece is a step toward mastery. Embrace the journey of learning and create pieces you are proud of.
Choosing the Right Keyhole Router Bit for Your Project
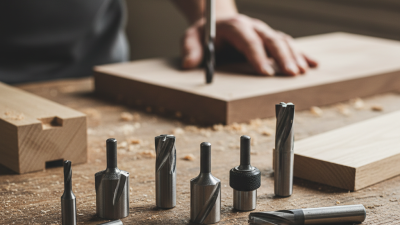
Choosing the right keyhole router bit is crucial for any woodworking project. A good selection ensures clean cuts and proper fit for your items. A recent industry report indicates that incorrect bit choice is one of the leading causes of project failure. Selecting the correct width and depth of the keyhole bit can significantly enhance your project's quality.
When choosing a bit, consider the material you'll be working with. Softer woods may require a different approach compared to hardwoods. Test cuts on scrap wood help refine your technique. Don't hesitate to experiment with bit sizes. Sometimes, a slightly larger or smaller bit can make a significant difference in your final product.
Tips for a perfect cut: Always ensure the bit is sharp. Dull bits can lead to tear-out and undesirable outcomes. Additionally, adjust your router speed according to the material. Faster speeds work well for softer materials. Slower speeds are necessary for denser woods. Pay attention to the setup; even small mistakes can lead to imperfect results. Take your time to double-check everything before making those final cuts.
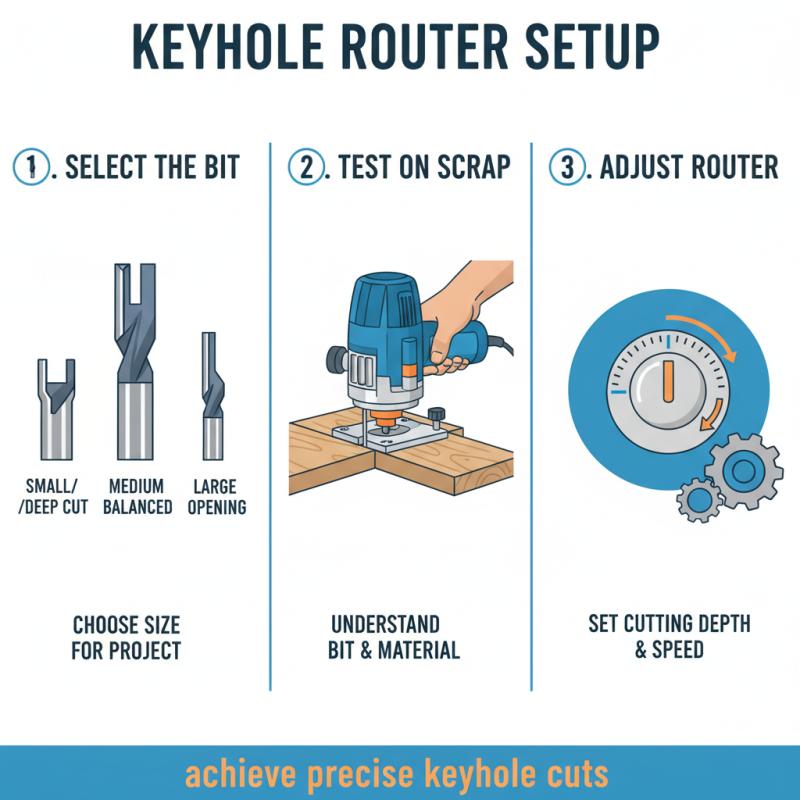
Setting Up Your Router for Keyhole Cutting
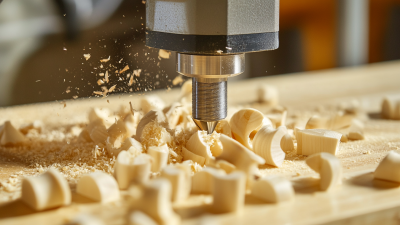
Setting up your router for keyhole cutting requires careful attention to detail. Start by selecting the right keyhole router bit. It’s important to choose the size that fits your project. Each bit has its characteristics. Some cut deeper while others create wider openings. Test on scrap wood first. This helps you understand how the bit interacts with your material.
Next, adjust the router's speed settings. A slower speed often results in a cleaner cut. However, too slow can lead to burning the wood. Watch for smoke or char marks as you cut. If you notice them, adjust your speed. When cutting, ensure the baseplate stays flat. A wobbly router can create uneven cuts. Always keep an eye on the angle. It’s easy to veer off course if you’re not careful.
Don’t forget to secure your workpiece. Clamps can help prevent movement. If you don’t use clamps, you’ll regret it later. Measure thrice, cut once. Even small mistakes can ruin the project. Each cut should be deliberate and confident. After finishing, inspect your cuts. Are they clean? Do they meet your expectations? Reflect on what went well and what didn’t. Learning from each experience makes you a better woodworker.
Techniques for Using Keyhole Router Bits Effectively
Using keyhole router bits effectively can elevate your woodworking projects. These bits create precise, slot-like openings, ideal for keyhole hangers and picture frames. To start, ensure your router speed matches the material you’re working with. Softer woods require slower speeds to avoid tear-out. Conversely, harder woods benefit from faster speeds. This balance can be tricky and often needs adjustment.
When working with keyhole bits, practice is essential. Make test cuts on scrap wood first. This will help you understand depth and angle adjustments. Don't hesitate to experiment. Sometimes, the first attempt may not land perfectly, which is okay. Learning to manage bit depth and feed rate takes time. Pay attention to the wood grain direction to minimize chipping.
Additionally, maintain a steady feed rate while cutting. Too slow, and you risk overheating the bit; too fast, and the cut may be rough. Ultimately, the keyhole router bit can open a realm of possibilities in your woodworking. Each project is a chance to refine your technique. Embrace the learning curve, and enjoy the process.
Keyhole Router Bit Tips for Perfect Woodworking Projects
| Tip |
Description |
Use Case |
Common Mistakes |
| Choose the Right Bit |
Select a keyhole bit that matches your project’s requirements. |
Hanging pictures or shelves quickly. |
Using the wrong diameter for the screw head. |
| Measure Twice |
Ensure your measurements are exact before cutting. |
Prepping wood for keyhole cuts. |
Inaccurate measurements leading to misalignment. |
| Test on Scrap Wood |
Practice your cuts on a scrap piece to refine your technique. |
Determining depth and angle of cuts. |
Cutting too deep or at the wrong angle. |
| Variable Speed Settings |
Utilize variable speed to control the cut efficiency. |
Different materials might require different speeds. |
Using a single speed for all materials. |
| Clean the Bit |
Regularly clean your router bit to maintain precision. |
Ensuring clean cuts without splintering. |
Allowing debris to build up on the bit. |
Safety Tips for Working with Keyhole Router Bits
When working with keyhole router bits, safety must be your priority. These tools can be dangerous if not handled correctly. Always wear safety goggles to protect your eyes from flying debris. Consider ear protection as well. Router bits can be loud, and prolonged exposure can damage your hearing.
Before starting, ensure your workspace is clear. A cluttered space can lead to accidents. Check that your router is properly secured. Loose tools can cause unexpected movements. Always use clamps to hold your workpiece in place. This prevents it from shifting during the cut.
Remember to keep your fingers away from the bit. This requires focus and precision. Start slowly when cutting. Rushing may lead to mistakes. If something doesn’t feel right, stop and reassess the situation. Taking a moment to reflect on your technique can prevent injury. It’s crucial to maintain a calm mindset while operating such powerful tools.
Keyhole Router Bit Usage and Safety Tips