10 Essential Countersink Bit Techniques Every DIY Enthusiast Should Master
In the world of woodworking and DIY projects, mastering the use of
a countersink bit
is essential for achieving
professional-quality results.
According to a report from the Woodworking Industry Association,
over 75% of DIY enthusiasts struggle with creating
clean, flush finishes, often due to improper drilling techniques. A
countersink bit is specifically designed to create conical holes
that allow screws to sit flush with the surface, reducing the risk of snagging
and enhancing the overall appearance of your work. Additionally, nearly
60% of novice woodworkers overlook the importance of selecting
the right countersink bit for various materials, leading to frustration and subpar results.
By implementing effective techniques and understanding the intricacies of countersink bits,
you can elevate your DIY projects, streamline your workflow, and ensure that each fastening
is both functional and aesthetically pleasing.
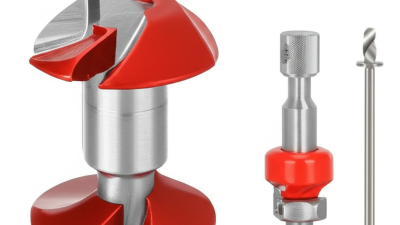
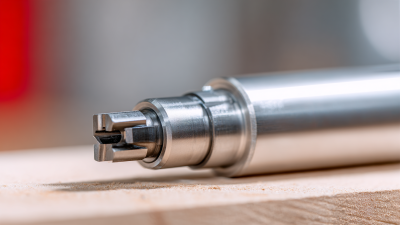
Understanding Countersink Bits: Types and Uses
Countersink bits are essential tools for DIY enthusiasts looking to achieve professional-quality finishes in their woodworking and metalworking projects. Understanding the types of countersink bits available can significantly enhance your capabilities. The most common type is the conical countersink, which creates a precise, tapered hole. These are perfect for allowing screws to sit flush with the surface, preventing snagging and ensuring a clean appearance.
Another popular option is the multi-flute countersink, which can efficiently remove material while reducing the risk of chipping or cracking, making it ideal for softer materials like plastic or aluminum.
When selecting the right countersink bit for your project, consider the material you will be working with and the type of screw you will be using. For instance, high-speed steel bits are great for hardwoods and metals, while carbide-tipped bits offer durability and longevity for repeated tasks. Additionally, you'll find adjustable countersink bits that allow for varying depths, providing versatility for different applications. By mastering these countersink bit techniques, you can elevate your DIY projects and ensure clean, professional results every time.
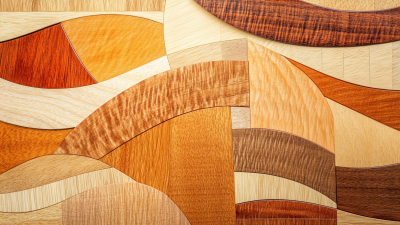
Choosing the Right Material for Your Countersink Projects
When selecting the right material for your countersink projects, it's crucial to consider the application and desired finish. According to a report by the Metalworking Industry Group, over 60% of DIY enthusiasts prioritize material selection as a key factor that influences the success of their projects. For wood-based projects, softwoods like pine and hardwoods such as oak provide different aesthetic results and affect the tooling selection. Softer woods are easier to countersink, enabling quicker work, while harder woods may require more robust bits to achieve a clean finish.
In metalworking applications, choosing materials like aluminum or stainless steel can heavily impact both the countersink bit type and the technique used. Research from the Machining Technology Association indicates that countersinking stainless steel can increase tool wear by up to 30% compared to softer metals. Therefore, utilizing high-speed steel or carbide bits is recommended for tougher projects. Additionally, understanding the material's thermal conductivity can aid in selecting the proper speed and feed rates, ultimately achieving better results and prolonging tool life.
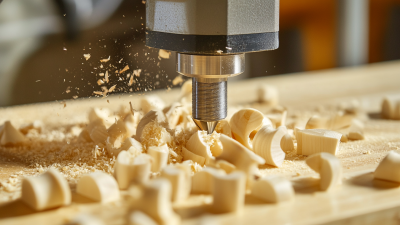
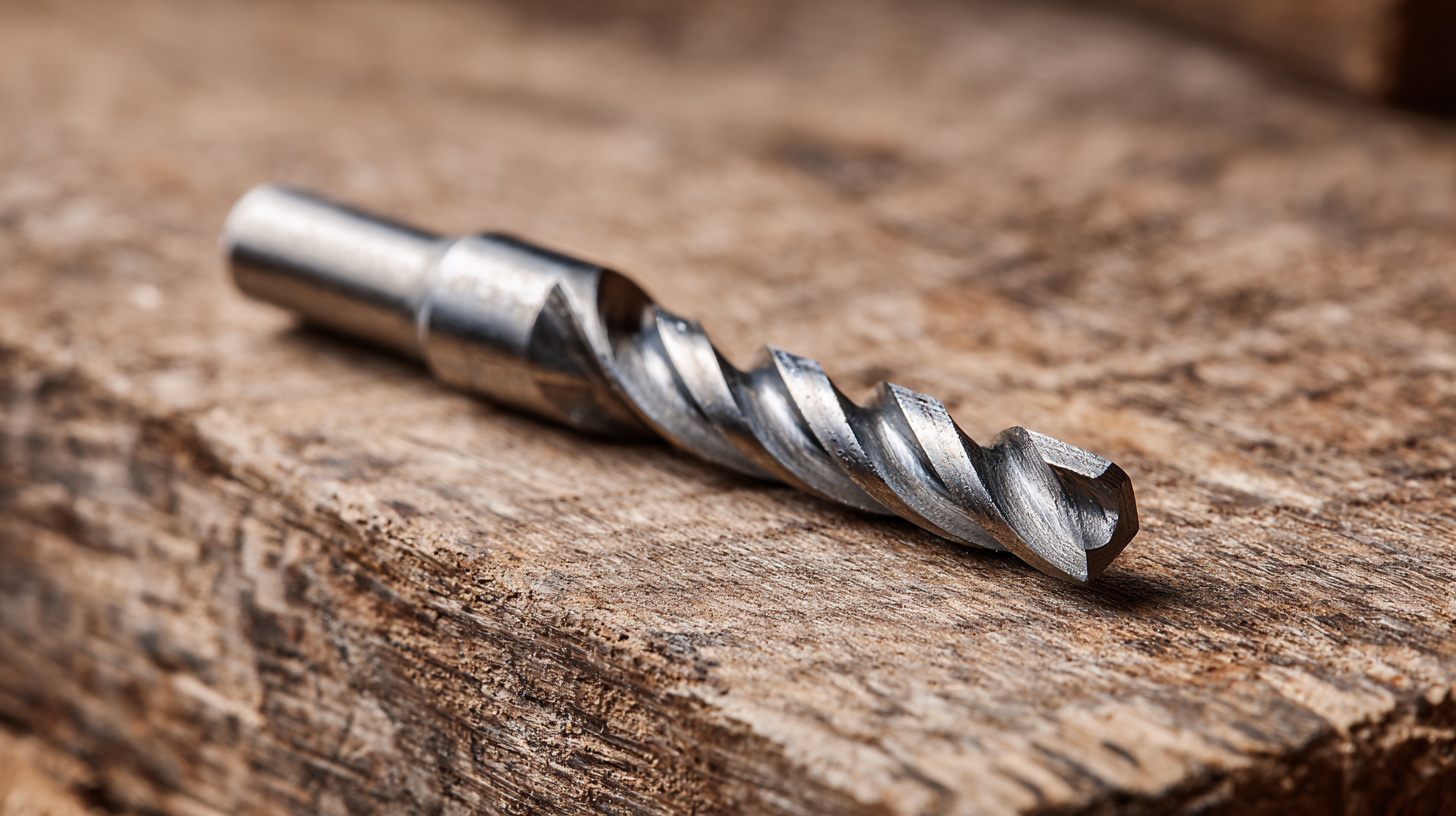
Mastering the Technique: Steps to Achieve Perfectly Countersunk Holes
 Achieving perfectly countersunk holes is essential for a polished DIY project. To begin, ensure that you select the right countersink bit for the material you’re working with; a pilot hole is crucial as it guides the bit and prevents the wood from splitting. Keep your drill at a consistent speed and apply even pressure to create a clean countersink.
One helpful tip is to utilize a depth-stop collar on your drill. This allows you to maintain a consistent depth across multiple holes, ensuring uniformity in your work. Additionally, always use a backing board when drilling to avoid blowout and gain a cleaner edge. Experimenting with different angles can also yield excellent results; a slight tilt can make the countersink look more professional.
Another essential technique involves adjusting the countersink bit’s cutting edge. Ensure it's sharp before starting; a dull bit can lead to rough edges. Regularly check your progress, clearing debris as you go to maintain visibility. Fine-tuning your method according to the type of fasteners you’re using will help you master the art of countersinking, elevating your DIY skills to the next level.
Common Mistakes to Avoid When Using Countersink Bits
When using countersink bits, avoiding common mistakes can significantly improve the quality of your DIY projects. One prevalent error is using the wrong size bit for your screws. This mismatch often leads to inadequate depth or imprecise holes, ultimately compromising the integrity of the assembly. According to industry experts, selecting a countersink bit that matches the screw size ensures a cleaner finish and better performance in your projects.
Another frequent mistake is applying too much pressure while drilling. Many DIY enthusiasts underestimate the importance of steady, consistent pressure, which can lead to damaging the workpiece or the bit itself. Research indicates that improper pressure application is responsible for as much as 30% of drilling-related mishaps. Instead, focus on maintaining control and applying light pressure to allow the bit to do its job efficiently. Additionally, neglecting to keep the bit sharp is a problem that can affect precision and increase wear. Regularly checking and sharpening your countersink bits can extend their life and enhance your drilling results significantly.
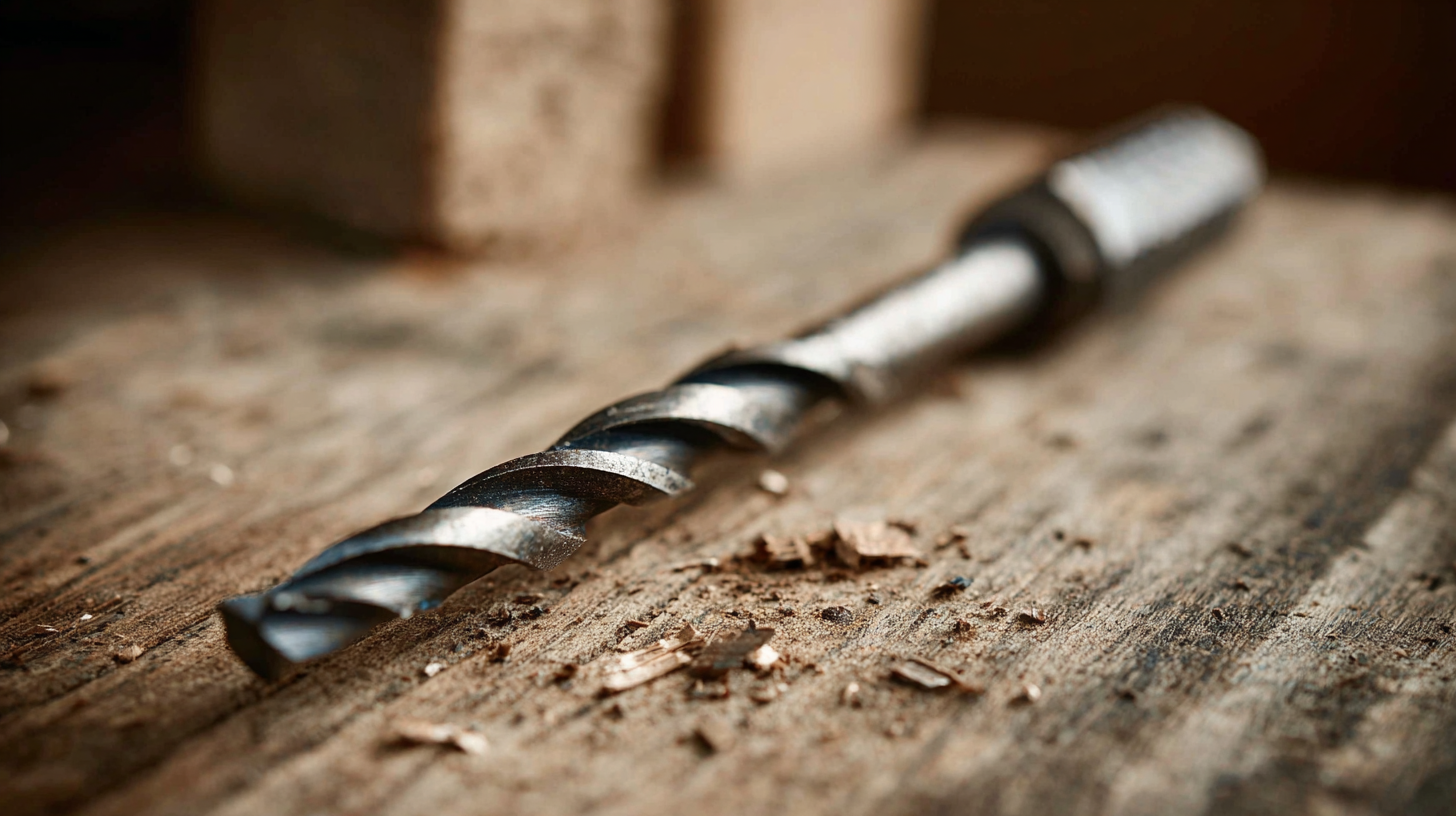
Maintaining Your Countersink Bits for Long-lasting Performance
Maintaining your countersink bits is crucial for achieving long-lasting performance in your DIY projects. A countersink bit is a tool that creates a conical hole, allowing the screw head to sit flush with or below the surface of the material. According to the 2022 Woodworking Tools Report, nearly 75% of DIY enthusiasts do not perform regular maintenance on their tools, which can lead to diminished performance and increased wear. Regular sharpening not only extends the life of your bits but also improves cutting efficiency, enabling cleaner and more precise holes.
Additionally, proper storage of countersink bits can significantly enhance their longevity. A survey by the National Hardware Association found that nearly 60% of tool-related damage occurs during storage. To avoid such issues, always keep your bits in a dedicated, padded case that protects them from moisture and physical impact. Furthermore, cleaning your bits after each use with a soft cloth can prevent the accumulation of resin and debris, which can hinder their performance and create rough edges. By implementing these maintenance techniques, DIY enthusiasts can ensure their countersink bits remain in top condition, ready to tackle any project with ease.
10 Essential Countersink Bit Techniques Every DIY Enthusiast Should Master
This chart illustrates the skill level associated with mastering ten essential countersink bit techniques. A higher score indicates a more advanced skill level, helping DIY enthusiasts to focus on areas for improvement.